Freshbooks
Read here to see how to connect and use your FreshBooks integration with Proposify.
Your prospect has sealed the deal. Now it’s time to generate an invoice so you can get paid and start your work. Proposify can connect with your FreshBooks account, enabling you to generate invoices and collect payment fast.
With our FreshBooks integration, you can:
Import your contacts
Create an invoice from any won proposal
Link Your FreshBooks Account
To link your FreshBooks account, you’ll need:
A Proposify account with an integration-enabled plan. If you’re the account owner, you can follow this link to check your plan.
An active FreshBooks account.
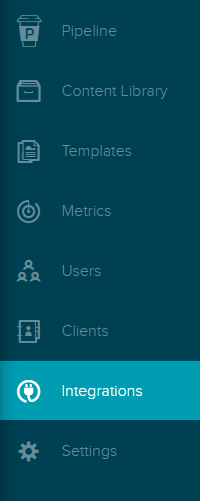
If you have both, then head to your integrations page. You can reach Integrations from the navigation menu.
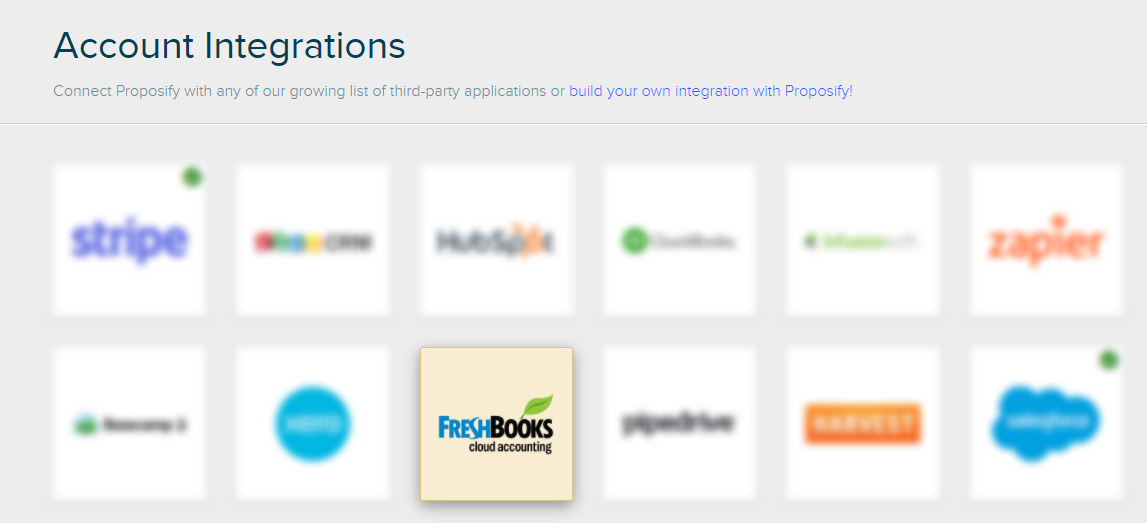
From there, you’ll see a list of apps Proposify can integrate with. Select FreshBooks:
Next, select Log in to FreshBooks:

FInally, enter your login credentials. Once you’ve logged in, your account will be linked. You can choose which FreshBooks account you’d like to link from the dropdown menu on this page:

Choose your account from the dropdown menu, then select Save Settings to finish connecting.
Import Your contacts
Follow this link to learn how to import your contacts from your integration.
Generate An Invoice
Once your sales document has been marked as Won, you can generate an invoice.
To generate an invoice, enter a documents’ Snapshot by selecting it from the Pipeline.
From the Snapshot, select Manage FreshBooks, found under the Settings pane to reach the Invoices page:

From Invoices, choose the percentage of the total document’s value to invoice. You can also add a note to include. Once done, select Generate Invoice:

FreshBooks is accounting software, so we give FreshBooks the document’s value without taxes included.
Once you’ve generated an invoice, it will appear under the Generate Invoice button:

NOTE: Each invoice generated will follow the default format and line items will be listed as a service.
You can generate any number of invoices, enabling you to enter down-payment and installation invoices as needed.
Manage Your Invoices
Each invoice will have three buttons located on the right:
Magnifying Glass
The magnifying glass creates a PDF preview of your invoice, so you can download a hard copy or verify to make sure everything is included.
Notepad
The notepad icon takes you to the invoice’s page in FreshBooks, in case you need to change a line item.
Trash Bin
The trash bin deletes the invoice in both Proposify and FreshBooks.
WARNING: This can’t be undone. Make absolutely sure you want to delete this invoice before selecting the trash can.
Unlink Your FreshBooks Account
To unlink FreshBooks, navigate to the FreshBooks integration page.
You can reach Integrations from the navigation menu.
From there, you’ll see a list of apps Proposify can integrate with. Select FreshBooks:
Select Disconnect FreshBooks to disconnect your integration:

Once selected, we’ll ask if you’re sure you want to cancel. Select Yes, disconnect to unlink your FreshBooks account.
Once disconnected, your invoices will remain in FreshBooks, but you’ll be unable to generate new invoices from Proposify.